![]()
![]()
![]()
![]()
![]()
![]()
![]()
![]()
![]()
![]()
![]()
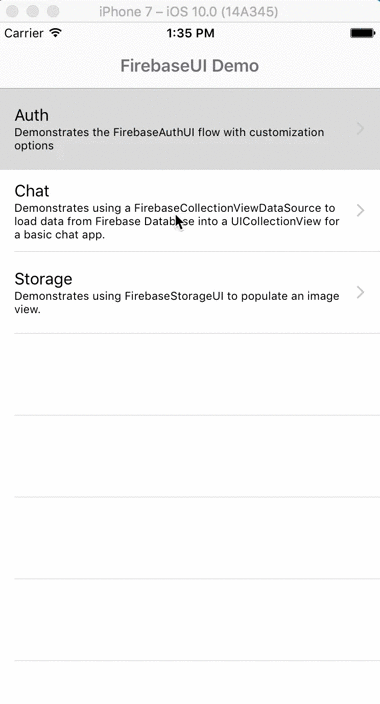
FirebaseUI is an open-source library for iOS that allows you to quickly connect common UI elements to the Firebase database for data storage, allowing views to be updated in realtime as they change, and providing simple interfaces for common tasks like displaying lists or collections of items.
Additionally, FirebaseUI simplifies Firebase authentication by providing easy to use auth methods that integrate with common identity providers like Facebook, Twitter, and Google as well as allowing developers to use a built in headful UI for ease of development.
FirebaseUI clients are also available for Android and web.
FirebaseUI supports iOS 10.0+ and Xcode 11+. We recommend using CocoaPods, add
the following to your Podfile:
pod 'FirebaseUI', '~> 8.0' # Pull in all Firebase UI featuresIf you don't want to use all of FirebaseUI, there are multiple subspecs which can selectively install subsets of the full feature set:
# Only pull in Firestore features
pod 'FirebaseUI/Firestore'

# Only pull in Database features
pod 'FirebaseUI/Database'

# Only pull in Storage features
pod 'FirebaseUI/Storage'

# Only pull in Auth features
pod 'FirebaseUI/Auth'

# Only pull in Facebook login features
pod 'FirebaseUI/Facebook'

# Only pull in Google login features
pod 'FirebaseUI/Google'

# Only pull in Phone Auth login features
pod 'FirebaseUI/Phone'
If you're including FirebaseUI in a Swift project, make sure you also have:
platform :ios, '13.0'
use_frameworks!
Otherwise, you can include the FirebaseUI Xcode project from this repo in your project. You also need to add the Firebase framework to your project.
The READMEs for components of FirebaseUI can be found in their respective project folders.
If you'd like to contribute to FirebaseUI for iOS, you'll need to run the following commands to get your environment set up:
$ git clone https://github.com/firebase/FirebaseUI-iOS.git
$ cd FirebaseUI-iOS
$ cd Auth # or PhoneAuth, Database, etc
$ pod install
Alternatively you can use pod try FirebaseUI to install the Objective-C or Swift sample projects.
You'll have to configure your Xcode project in order to run the samples.
-
Your Xcode project should contain a
GoogleService-Info.plist, downloaded from Firebase console when you add your app to a Firebase project.
Copy theGoogleService-Info.plistinto the sample project folder (samples/obj-c/GoogleService-Info.plistorsamples/swift/GoogleService-Info.plist). -
Update URL Types.
Go toProject Settings -> Info tab -> Url Typesand update values for:REVERSED_CLIENT_ID(get value fromGoogleService-Info.plist)fb{your-app-id}(put Facebook App Id)
-
Update
Info.plistwith Facebook configuration valuesFacebookAppID -> {your-app-id}(put Facebook App Id)
-
Enable Keychain Sharing.
Facebook SDK requires keychain sharing.
This can be done here:Project Settings -> Capabilities -> KeyChain Sharing -> ON -
Don't forget to configure your Firebase App Database using Firebase console.
Database should contain appropriate read/write permissions and folders (objc_demo-chatandswift_demo-chatrespectively) -
In Order to use
Phone Authprovider you should Configure Push Notifications
Push Notification- UnderCapabilitiestab in your app target choosePush Notificationsand put the switch to theOnposition.Background Mode- UnderCapabilitiestab in your app target chooseBackground Modesput the switch to theOnposition. In the list of available modes selectBackground fetchandRemote notifications(If available).
-
Create your
Provisioning APNS SSL Certificatesby following the steps on the following link. https://firebase.google.com/docs/cloud-messaging/ios/certs -
Upload your
APNS Certificateto Firebase:- Inside your project in the Firebase console, select the gear icon, select
Project Settings, and then select theCloud Messagingtab. - Select the
Upload Certificatebutton for your development certificate, your production certificate, or both. At least one is required. - For each certificate, select the
.p12 file, and provide the password, if any. Make sure thebundle IDfor this certificate matches thebundle IDof your app. SelectSave.
- Inside your project in the Firebase console, select the gear icon, select
We'd love to accept your sample apps and patches! Before we can take them, we have to jump a couple of legal hurdles.
Please fill out either the individual or corporate Contributor License Agreement (CLA).
- If you are an individual writing original source code and you're sure you own the intellectual property, then you'll need to sign an [individual CLA] (https://developers.google.com/open-source/cla/individual).
- If you work for a company that wants to allow you to contribute your work, then you'll need to sign a [corporate CLA] (https://developers.google.com/open-source/cla/corporate).
Follow either of the two links above to access the appropriate CLA and instructions for how to sign and return it. Once we receive it, we'll be able to accept your pull requests.
- Submit an issue describing your proposed change to the repo in question.
- The repo owner will respond to your issue promptly.
- If your proposed change is accepted, and you haven't already done so, sign a Contributor License Agreement (see details above).
- Fork the desired repo, develop and test your code changes.
- Ensure that your code adheres to the existing style of the library to which you are contributing.
- Ensure that your code has an appropriate set of unit tests which all pass.
- Submit a pull request